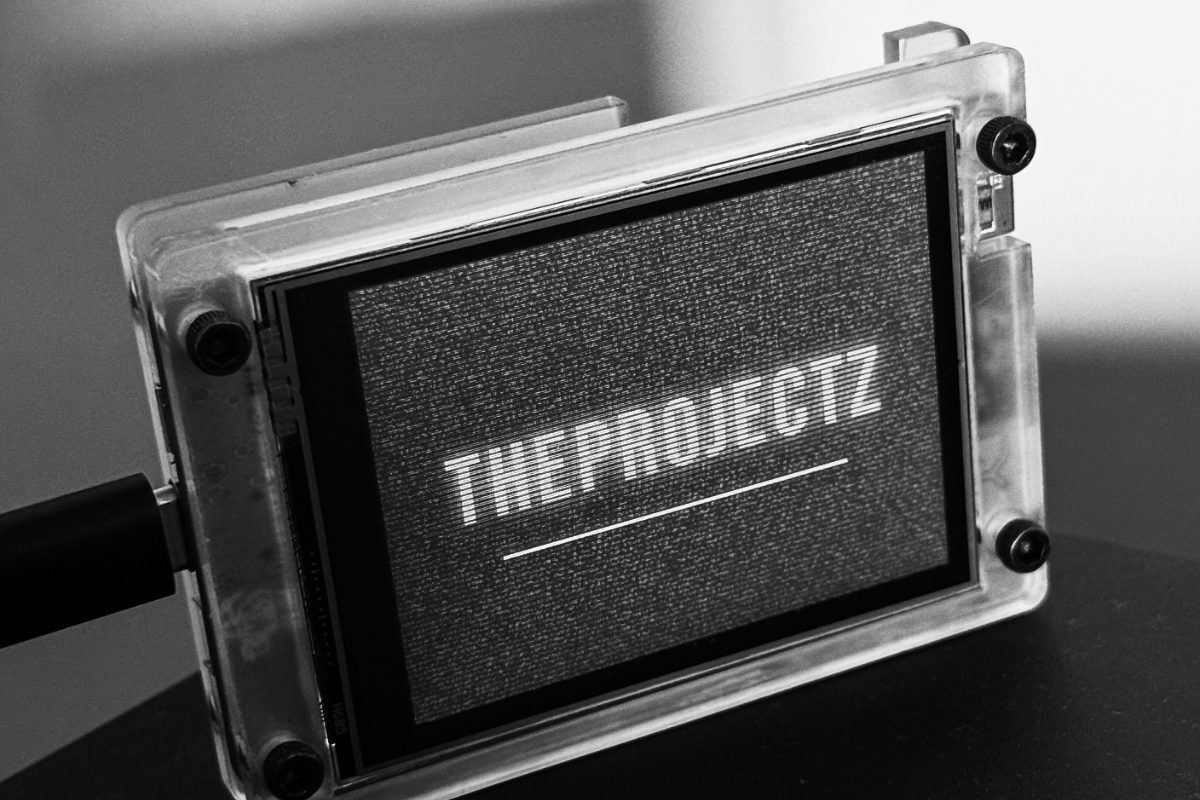
These little devices get called lottery miners. They solo mine Bitcoin at around 1 MH/s, which against a network running at hundreds of exahashes is a rounding error. Every so often though, someone somewhere gets lucky. In the meantime you get a nice desk gadget that doubles as a clock, price ticker and weather display.
Mine is an ESP32 board with a 2.8" touchscreen in a clear acrylic case, running the NMMiner firmware. Here is how I set it up, the bits that tripped me up, and how I made sure it can't touch anything else on my home network.
What you need
- An ESP32-2432S028R board, often sold as the "Cheap Yellow Display" or CYD 2.8". This is the one I'd buy on AliExpress, case included.
- A USB cable that carries data, not just power.
- Chrome or Edge for flashing. Safari won't do it.
- A 2.4 GHz Wi-Fi network. These boards don't do 5 GHz.
- A Bitcoin address you control.
1. Flash the latest firmware
Mine arrived on NMMiner 1.8.10. The 2.x releases add a lot for this board, including weather, price charts and a proper clock page, so updating is worth it.
- Open the NMMiner Flash Tool in Chrome or Edge.
- Plug the board in and pick its serial port. On a Mac it shows up as something like cu.usbserial or cu.wchusbserial.
- Select the ESP32 2432S028R board and flash.
If the port doesn't appear
If only Bluetooth ports are listed, the computer can't see the board. Nine times out of ten it's a charge-only cable. Swap it, plug straight into the computer rather than a hub, and if it still doesn't show, install the CH340 USB driver from the NMMiner GitHub repo.
If the flash fails with errors
I got a wall of "SlipReadError: Invalid head of packet" errors. That's the data getting garbled at the default speed of 921600 baud, which is common with the CH340 chip. Drop the baud rate to 115200, unplug and replug, and try again. Slower, but reliable.
If the colours look inverted
These boards ship with one of two screen chips, ILI9341 or ST7789. Flash the wrong one and everything works, but the colours come out inverted, with pale backgrounds and dark text. Reflash with the other variant.
2. Configure it
Hold the BOOT button for about five seconds. The board starts its own open Wi-Fi network called nmap-2.4g. Join it, browse to 192.168.4.1, and fill in:
- Your Wi-Fi name and password (2.4 GHz)
- The pool address
- Your Bitcoin address
- Pool password: x
Save and it reboots onto your network. After that you can change settings from its web page, at the IP address shown on screen.
3. Pick the right pool
This is the mistake that cost me an evening. My miner was hashing away happily but showing zero accepted shares. It was pointed at a big commercial pool built for industrial ASIC miners.
Those pools set a minimum share difficulty in the thousands. At 1 MH/s, finding a single share that hard takes a couple of years on average. So the miner was working perfectly and achieving nothing.
The fix is a solo pool that accepts low-difficulty shares from small devices:
| Pool | Address |
|---|---|
| NMMiner | stratum+tcp://solobtc.nmminer.com:3333 |
| Public Pool | stratum+tcp://public-pool.io:21496 |
| CKPool Solo | stratum+tcp://solo.ckpool.org:3333 |
Within a few minutes of switching, shares started counting up with a 100% acceptance rate.
4. Keep it off your home network
This mattered to me. The firmware is closed source, and its settings page and API have no password at all. Anything that can reach the device can change its pool or wallet. So it lives in its own private space.
Mine sits on a separate guest network on my router, with three simple rules:
- The miner can reach the internet, because it has to talk to the pool.
- The miner can't reach anything in my house. No laptops, no NAS, not even the router's admin page.
- My computer can reach the miner, so I can still check its stats. One way only.
On an OpenWrt-based router (I use a GL.iNet Flint 2), that's done in the firewall zones:
- Put the miner's network in its own zone with input and forward set to reject, allowed to forward to wan only.
- Edit your main lan zone and add the miner's zone as an allowed destination. The firewall is stateful, so replies come back, but the miner can never start a connection towards you.
- Give the miner a static DHCP lease so its address never changes.
To tighten it further, turn on AP isolation for that Wi-Fi so other devices on it can't reach the miner, don't let guests share that network, and never port forward to it. If you want to go further still, restrict it to the ports it needs: TCP 3333 for the pool, UDP 123 for the clock and TCP 443 for price and weather. Every so often, open its settings page and check the wallet address is still yours.
Was it worth it?
As an investment, no. The odds of this thing ever finding a block are tiny. As a project, absolutely. It's a good excuse to learn about firmware flashing, mining pools and network segmentation, and it looks great on a desk.
If it ever does hit a block, you'll be the first to know.